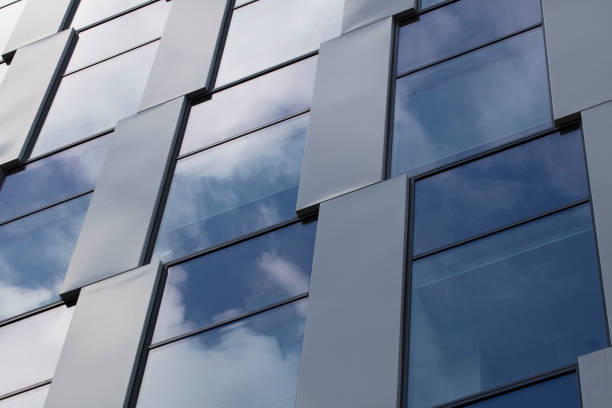
When people look at a structure with a beautiful ALUCOBOND facade, few realise that the stunning facade is the result of a whole process. The different aspects of the process are essential for a final professionally-looking structure.
This article outlines the basic processes when using ALUCOBOND Australia as a cladding material. Everyone who has read it will have a greater appreciation for the workers and the work done “behind the scenes.”
Basic steps to be completed from concept to reality
The are three steps when aluminium composite panels are installed:
- Preparing the wall for cladding.
- Installing ALUCOBOND cladding.
- Removing plastic protective film.
The first step
The purpose of the first step is to
- waterproof the exterior with a “rain-screen”, and
- copy the concept design to the wall.
1. Waterproofing
This step involves the following:
Air Vapour Barrier (AVB)
Many wall materials, including concrete, cannot keep water out effectively and they need something extra on them to make them watertight. Usually, an air vapour barrier is attached to the wall.
To attach an AVB, the workers paste adhesive AVB sheets from the bottom upwards (in principle, like “normal” self-sticking wallpaper) and let the AVB sheets overlap by about 4 to 6 cm. If applied correctly, the AVB forms a rain screen and makes the walls completely watertight.
Gutters
Gutters are formed at the bottom of the wall to ensure that water flashing down is kept away from the main structure.
2. Design copied to the air vapour barrier
Installers create a grid on the AVB with chalk and lasers according to the blueprint provided by the facade designer. This enables a person to visualise how the final product will look. The grid indicates each panel’s exact dimensions, and where the underlying bulges, bumps, swellings, back plates, etc. will be placed.
Second step – Installation
Preparation
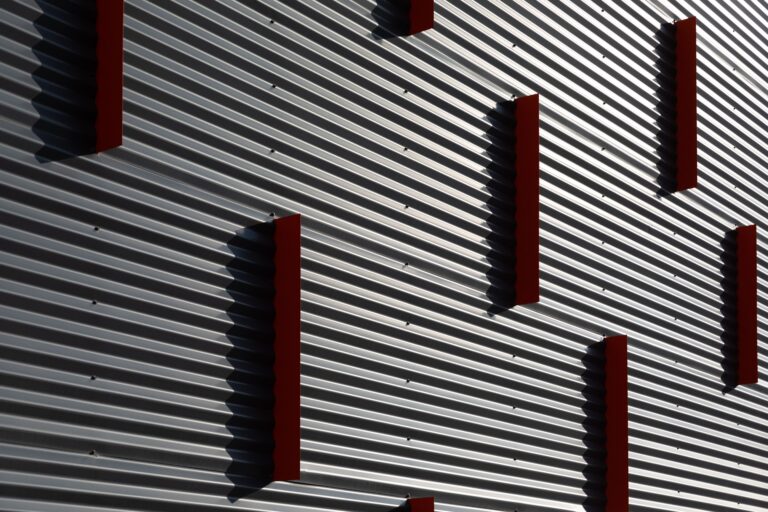
Installers create space between the wall and cladding by fastening extrusions to the material and fastening the back plates. Small gaps are left at the top and bottom of back plates and for structural strength installers use clips.
Installing the panels
Suction cups are used to grip the cladding panels to put them in place. The panels’ E-brackets lock into the extrusions on the base wall. Gaps which might form are covered with parallel panels.
Third step – removing the protective film
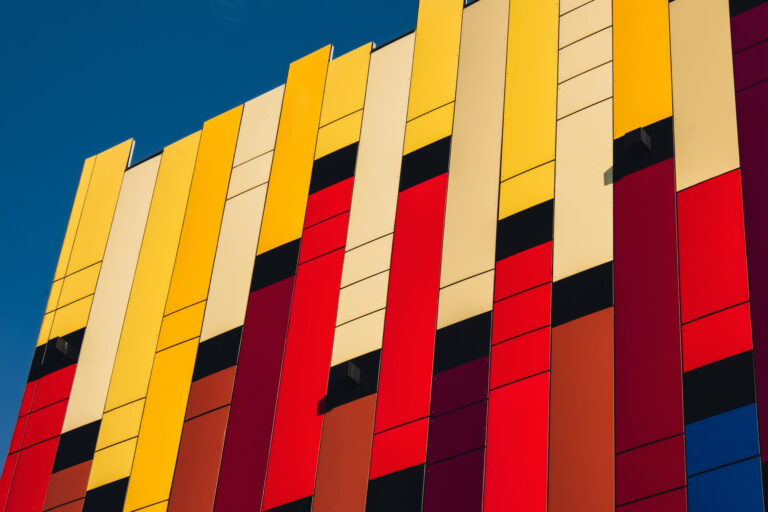
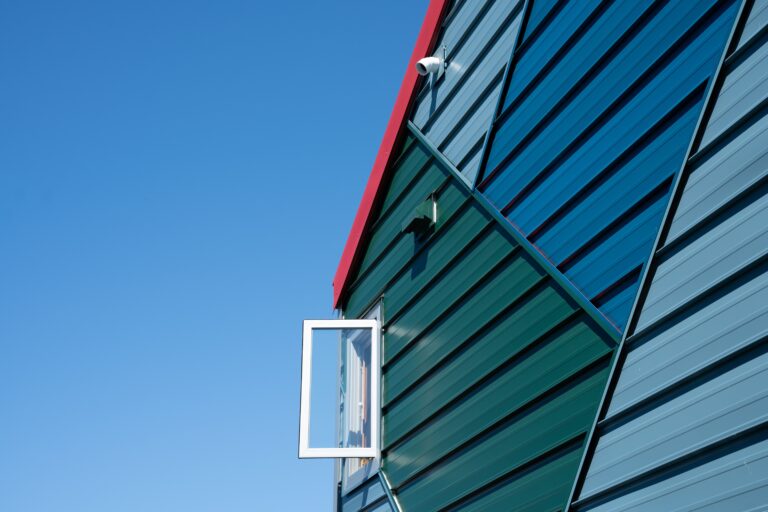
As the final step, the plastic protective film on the cladding material is peeled off to leave a beautiful ALUCOBOND facade. The wide variety of ALUCOBOND colours in Australia ensures that the final facade is exactly what the designer has had in mind.
Conclusion
Constructing a beautiful ALUCOBOND facade includes many steps to develop from concept to reality. Another advantage is that the ALUCOBOND Australia price is, usually, less than any other cladding material.